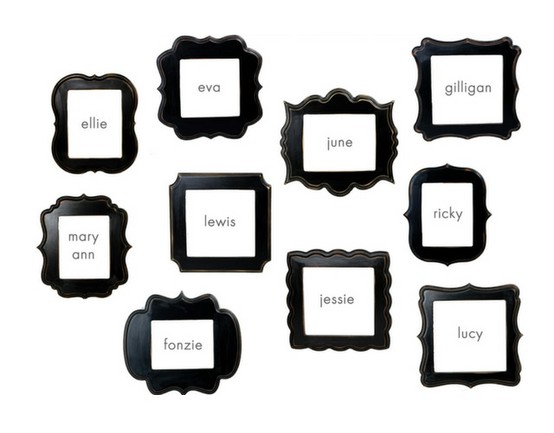
I'm glad you came back for the tutorial on the picture frames in my bedroom. Sorry to hold you in suspense, but this last weekend was a very fun and busy. You know how it is.
I made these frames the exact same as the one Stacy made over at Not Just A Housewife. I thought her frame was incredible and wanted to make it so bad that I was inspired to learn how to use a jig-saw. Yup, that's right, this was my first time using a jig-saw. If I can do it, so can you. Making one frame doesn't take that much time, but if you're planning to make a collage, expect this to take a while.
I wanted to make several different shapes and I needed some ideas so I went searching and found these amazing frames at Candid Contrast Photography. One of my readers told me that they are actually sold at The Organic Bloom. Check them out for even more ideas.
I made a pattern for each frame like this:
I didn't worry too much about perfection when drawing the corner of the picture, because I knew each side would look the same after I unfolded it, and I figured that was the most important. Also, you may choose to cut out the center of the frame, but it's not necessary. You'll see why in a minute.
Ok, then tape the stencil close to the edge on a piece of plywood and trace.
I used a 4X6" craft frame that I bought at a craft store for $1. Center the frame and trace the center. I thought it would make it more accurate to wait to trace the center of the frame until now. Also, this green frame is not the craft frame... I couldn't find the darn thing when I took the picture... oh well.
Next, drill a hole(s) in the middle of the frame. I also drilled a hole just outside the frame in place that was far from the edge of the plywood. These holes are a starting point for the jig-saw.
A couple things I learned about using a jig-saw include:
1.) Wear a face mask so that you don't inhale saw-dust. Goggles are a good idea too and ear plugs never hurt.
2.) Go full throttle with the jig-saw in order to make a clean cut. This scared me at first. A lot. But then I realized full throttle doesn't necessarily mean fast. In fact, the faster the saw is moving up and down and the slower you move the jig-saw forward, the smoother the edge will turn out.
Each frame took about 30 minutes to trace and cut out.Sand it really well. Plywood has a lot of slivers when it's cut.
Glue a craft frame to the back using wood glue and attach hanger teeth.
Prime and paint the frames.


No comments:
Post a Comment